Finish Care Guide
Limewash
Mineral Finish Care
Care & Maintenance
Keeping Your Limewash Breathable
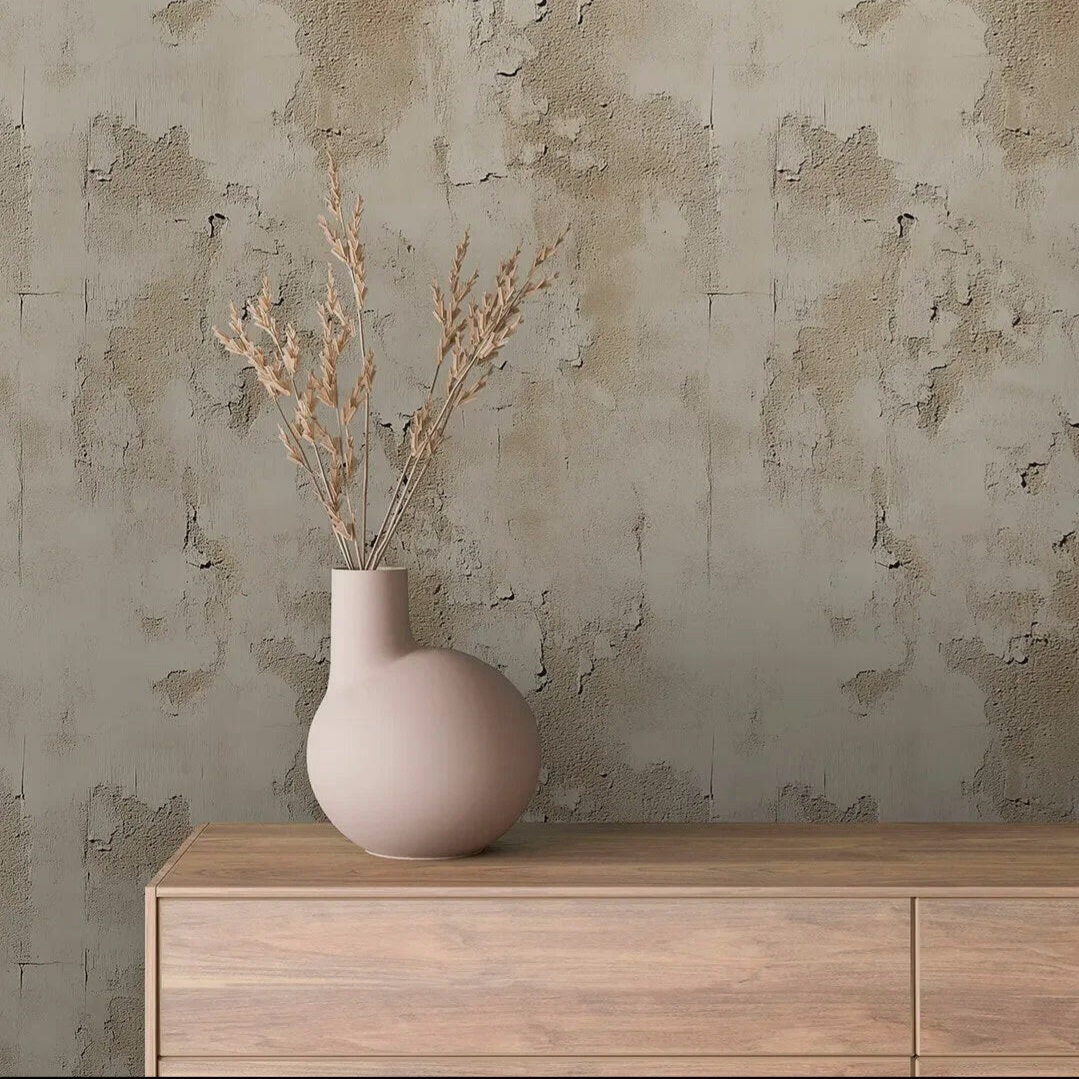
Limewash is intentionally a "living" finish — minor patina is characteristic of the mineral system and not a defect. Dust with a soft, dry microfiber cloth on a monthly cadence; high-touch areas benefit from a light pass weekly. Clean with a soft damp cloth using only water — a drop of pH-neutral soap is acceptable for stubborn marks. Avoid abrasive cleaners entirely, as they will score the cured mineral surface.
Before Application
Substrate Preparation
- Historic masonry must be sound, dry, and mineral in character before limewash is specified. Confirm that brick, stone, or lime plaster is stable and free of structural movement before any cosmetic preparation begins.
- Remove loose lime, friable paint, dust, salts, and visible efflorescence with the least aggressive method that leaves the masonry intact. Do not seal damp masonry behind a film-forming coating.
- Make repairs with compatible lime mortar or lime plaster, matched to the existing substrate. Avoid hard cement patches, gypsum fillers, and acrylic spot repairs that can trap moisture or create a visible edge beneath the limewash.
- Check for rising damp, penetrating moisture, leaks, and condensation before application. Resolve the source and allow the wall to dry; limewash needs a breathable substrate and stable moisture conditions to carbonate properly.
- Use a compatible mineral primer only where the substrate requires consolidation or an even key, and follow the primer manufacturer's cure window. Allow new lime repairs and primer coats to cure fully before the first limewash coat is applied.
Routine Care
Three Essential Maintenance Steps
Dust Without Polishing
Use a soft, dry microfiber cloth or a clean soft-bristle brush for monthly dusting. On high-touch walls, make a light weekly pass and avoid pressure that could burnish the matte mineral surface unevenly.
Damp-Blot Small Marks
For everyday marks, use a barely damp soft cloth with clean water and blot rather than scrub. Work from the outside of the mark inward, then let the area dry completely; repeated rubbing can lift pigment and leave a lighter patch.
Watch Moisture and Patina
Inspect seasonally for chalking, salt bloom, darkening, or recurring stains, especially in bathrooms, kitchens, mudrooms, and older masonry rooms. Address the moisture source before cleaning or reapplying finish.
Protective Sealing
When to Reseal
The studio waxes limewash selectively rather than sealing every wall, preserving the finish's vapor permeability and soft variation. In normal residential rooms, assess the wax and surface response every 3–5 years and re-wax only when the wall begins to mark more easily or lose its gentle water resistance. High-touch areas such as hallways, kitchens, and dining rooms should be assessed every 2–3 years; bathrooms, mudrooms, and other moisture-prone rooms may need an annual review. A breathable limewash wall should never receive an acrylic, polyurethane, or other film-forming topcoat without studio approval.
Cleaning Products
What to Use — and What to Avoid
Limewash is a porous mineral finish even when protected with a breathable studio wax. Treat cleaning as a light intervention: remove dust first, test any damp method in an inconspicuous area, and expect that deep marks may need a blended reapplication rather than aggressive scrubbing.
- Clean water on a soft, white cotton or microfiber cloth, used sparingly and blotted dry
- A small amount of pH-neutral soap fully diluted in water for isolated greasy marks, after a hidden-area test
- A soft natural-bristle brush or vacuum brush held just off the surface for dry dust removal
- Bleach, chlorine, ammonia, vinegar, or acidic bathroom cleaners — they can react with and discolour the lime film
- Abrasive sponges, melamine foam, scouring powders, or stiff scrubbing brushes — they remove pigment and create burnished patches
- Steam cleaners, pressure washers, and soaking wet cloths — concentrated moisture can drive salts through historic masonry
- Acrylic, polyurethane, silicone, or solvent-based sealers and waxes — film-forming products compromise breathability and can trap moisture
Long-Term Care
Repair & Reapplication
Small scuffs, isolated pigment loss, and compatible historic-masonry repairs are best blended by the studio with the original limewash recipe and application movement. Under normal residential use, plan a visual condition review at 3–5 years and a light re-wax assessment on the same cadence where wax was specified. High-touch or moisture-prone rooms should be reviewed every 1–2 years, with localized reapplication as needed rather than a heavy topcoat. Full reapplication is usually appropriate when the wall has widespread fading, water staining after the underlying issue is resolved, or enough patching that the original variation no longer reads as a continuous field. Contact the studio before painting over limewash or commissioning repairs so the substrate remains breathable.
Ready to commission a new limewash installation?
Book a Consultation ← Back to all finish care guides